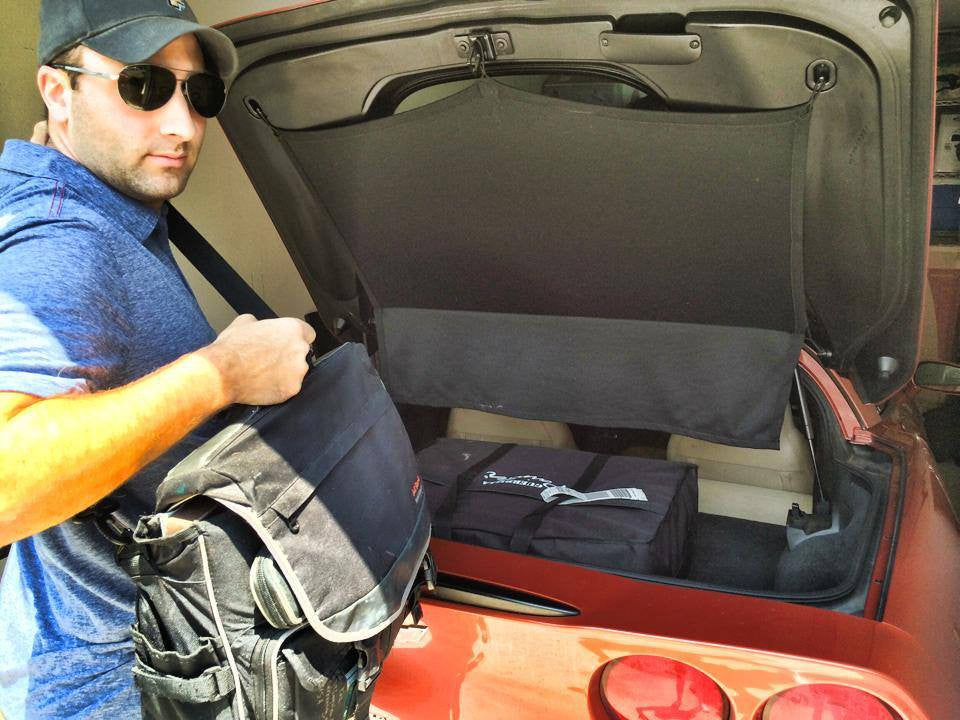

I watched nervously as the TSA agent unzipped (upside down) my box filled with wet canvases, tubes of oil colors and brushes. I knew that if the agent deemed my supplies hazardous or even possibly flammable, then she would deny my bag entry aboard the plane. I’d show up at my gallery show empty handed, disappointing both the gallery owners who forked out $$ for travel/hotel and of course the collectors who were hoping to see a painting in progress. Buying all new supplies and tools at the destination was not truly an option. There is never a guarantee there will be a nearby art store with my brand of paint, my preference in canvas or a handy dandy maul stick to help steady my shaky hands.
As an artist, the idea of traveling with supplies can be daunting. Throughout the years, I’ve learned a few tricks to make the process smooth and worry-free.
Build a Travel Kit
Early in my career, I was asked to spend two weeks aboard a Royal Caribbean transatlantic cruise as the guest artist. We departed from Port Everglades near Ft. Lauderdale and cruised to Europe where I then flew back home to Orlando. Until that point, I’d never traveled further than driving distance for gallery shows and now I was about to take a cruise, take a flight and cross international borders with my art supplies all in one two-week period. Crash course to say the least.
In preparation for the trip, I packed a few tubes of oil colors and some of my brushes. I didn’t want to take everything I owned because there was simply no room. So, I guessed at which colors to take and picked a variety of brushes from my everyday supply.
The first night on the cruise, I was asked to paint while guests watched and perused the selection of art offered by the onboard gallery, including several of my own. I started a painting of Beau the frog and, upon preparing to highlight and brighten his signature white eyes, I realized I had not packed my white paint. How could I have forgotten a color like white??
I tried to laugh it off and did my best without having a tube of white, but it definitely affected work. Some of the crew heard of my dilemma and I was offered a small can of white paint that they use for touchups on the ship itself! It was really super nice of them and I appreciated the gesture. I declined to use the paint since it was a medium that might behave differently in the longterm on an oil painting. Maybe it would crack or flake off, I just didn’t know.
From that trip I learned one very important lesson. Build a travel kit.
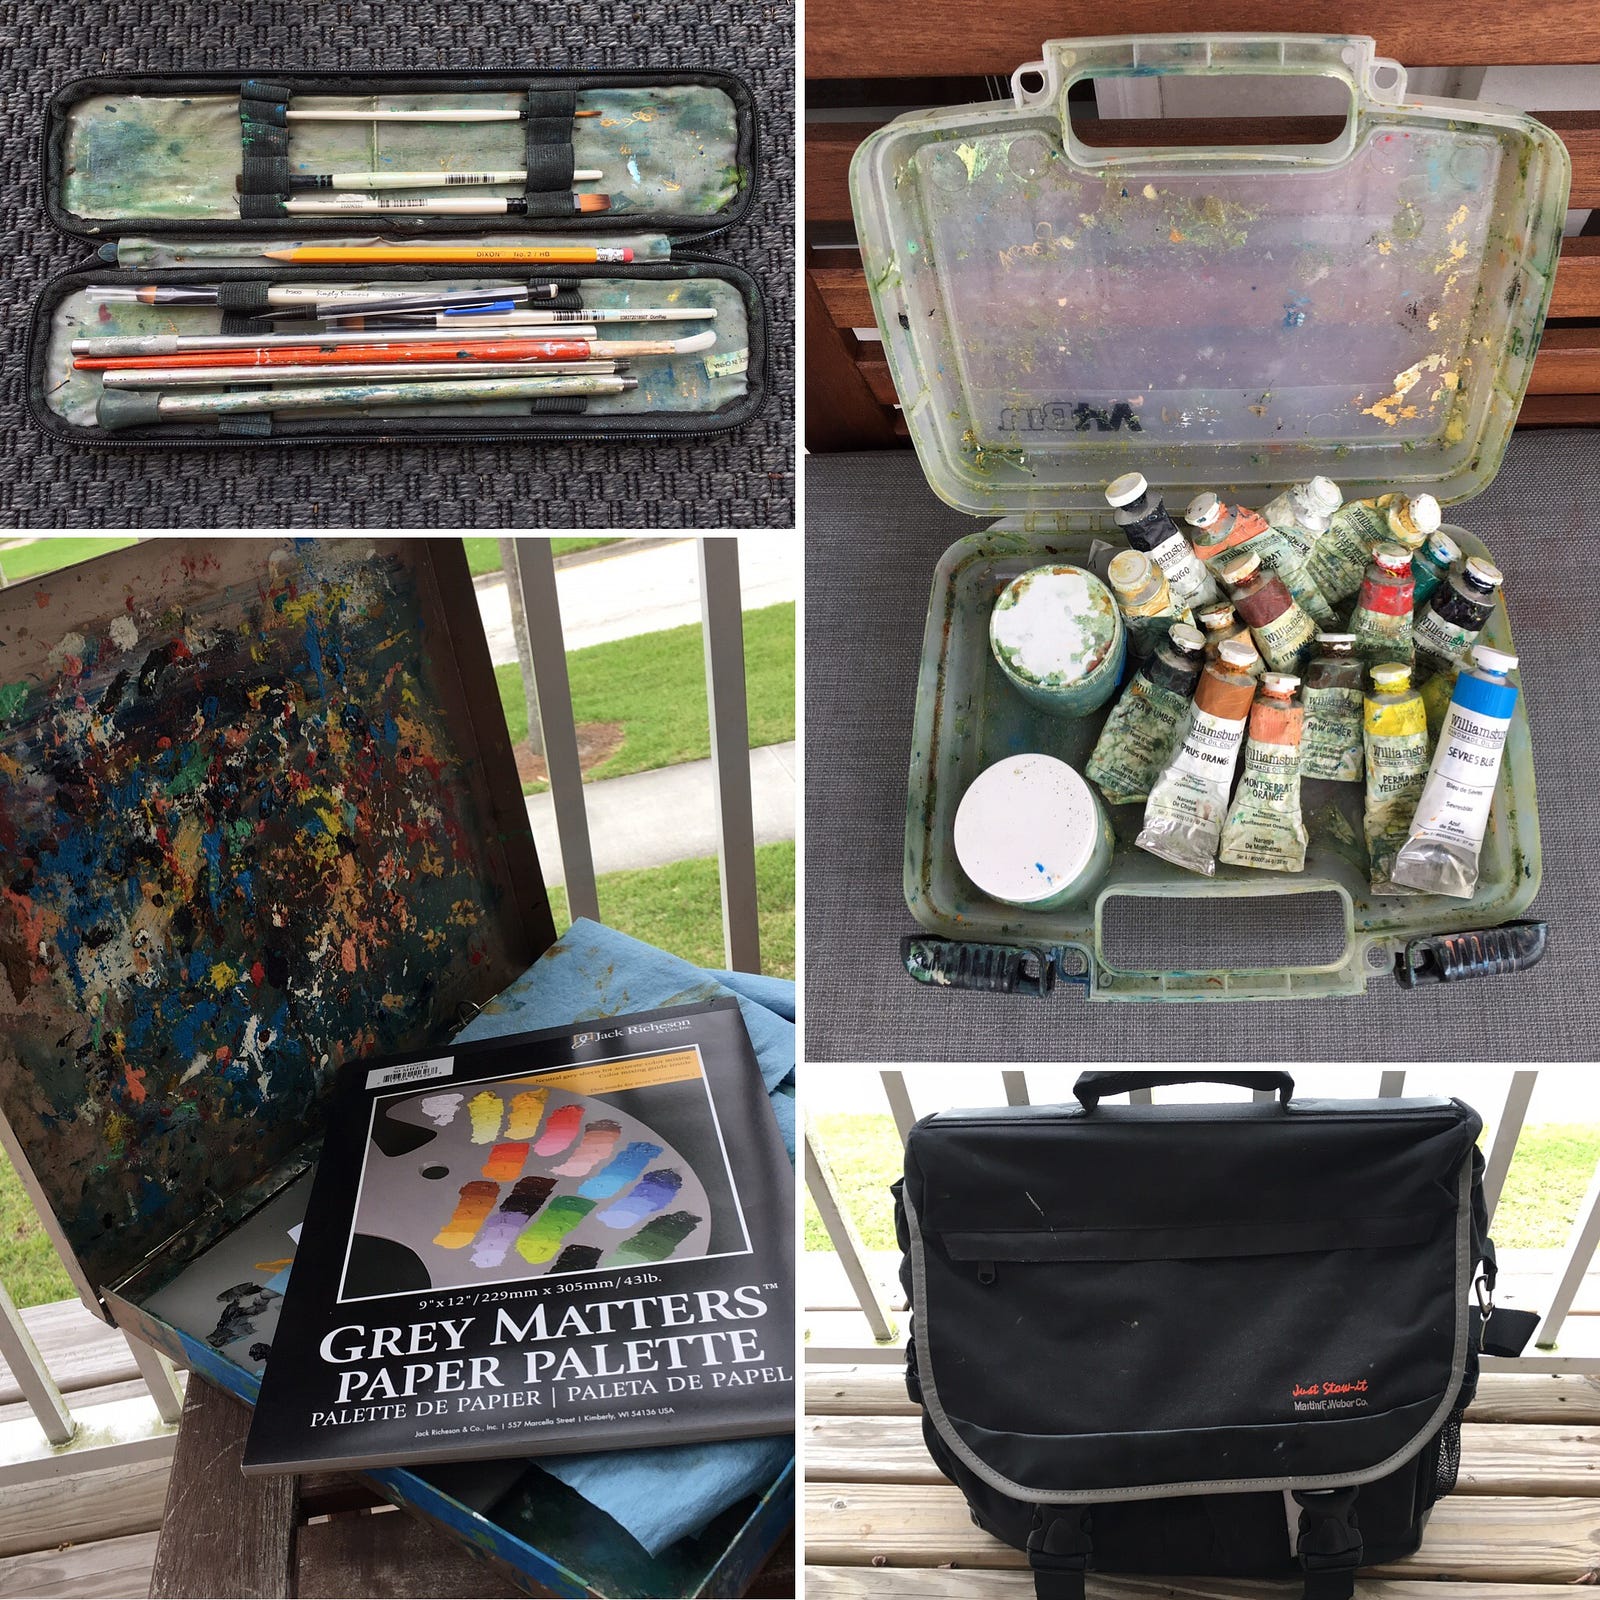
- Small tubes. I use 150ml tubes of Williamsburg Oil Colors at home. My kit contains 37ml tubes for travel. Small tubes help lighten the load and allow you to carry more colors.
- Brushes. I usually keep several and replenish the brushes in my travel kit often. This ensures that, no matter the subject I decide to paint, I’ll have the brush type I need. Also, I kinda blow through brushes and having several allows me the flexibility to discard a brush and start with a fresh one as often as I see necessary.
- Maul stick. In my home studio, I use a homemade maul stick that is custom to my needs. It’s a large dowel rod with a cane hook on top and I am able to steady my hand for fine details without resting my arm against the wet canvas. It’s not practical for travel, so my kit includes a portable maul stick that is a lightweight metal and unscrews to break down into three pieces.
- Paper towels. I use paper towels to wipe paint my brushes, wipe paint from my hands, wipe paint my shirt, etc… I’m probably not the cleanest artist and I find disposable towels are important while traveling. I prefer to use the blue shop towels as they absorb more, don’t bleed through and generally lost longer.
- Palette paper. I’ve always preferred palette paper over a plastic or wooden palette. When traveling, I feel palette paper is definitely an important and practical preference as it allows me the flexibility to dispose of my used palette prior to return travel or, if I want to keep my palette, I can fold it onto itself or easily pack it flat without worrying about paint being transferred to undesired surfaces.
- Pencils. When I’m traveling and a collector purchases a commissioned work, sometimes they will chat with me about their vision. If time allows, I might take a moment to sketch out my own vision with the collector there to ensure we’re on the same page. Even if I do sketch, I always ask the gallery consultants to make thorough notes on the purchase order since I can easily mix up commissions.
- Gold pens. If a collector purchases a giclee that is ready for the taking, I will sign the piece and sometimes make a dedication if they’d like. I use gold pens for the signature.
Your travel kit will serve two purposes. 1) The obvious is that you won’t have to worry about forgetting anything if your kit is always stocked and used only for travel, instead of pulling from your home studio supplies. 2) If your luggage is forever lost in travel, you won’t be left short on supplies in your home studio.
Protect Canvases, Wet Paintings & Active Palettes
- Rigid luggage. If I’m traveling with just one or two, small blank canvases, I usually pack them in my rigid luggage. I protect them from puncture by using cardboard sheets on the front and back side of the canvas and I wrap them in a 3mil art bag. I have found this method works fine, though I run a slight risk that things are shifted by the airline’s baggage handlers or during random inspection from TSA. So far, knock on wood, I haven’t had any trouble using this method during travel.
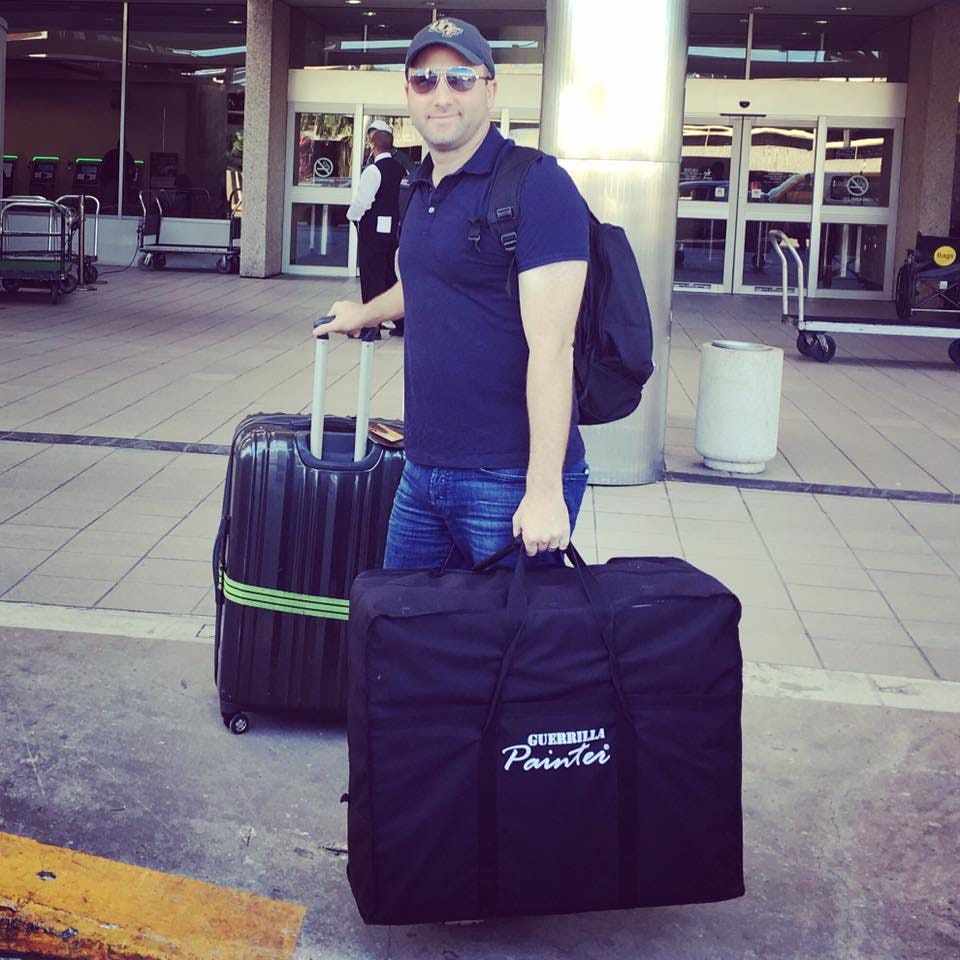
- Plein air wet painting carrier. No, I’m not a plein air painter, but supplies for plein air are great for traveling to gallery shows, too. In particular, I love the Plein Air Porter from Guerrilla. It allows me to transport multiple wet paintings up size 20x24 and the foam casing means the box can handle being banged up by baggage handlers without the paintings receiving any damage. If I’m creative in my packing (or if I’m carrying fewer canvases), I can also add my travel kit with paints and brushes. The separated slots for holding the paintings ensures the wet paintings don’t get smudged. Additionally, the porter is very lightweight and fits within the standard dimensions for most airlines (meaning you don’t get charged extra $$ for an oversized item during check-in). NOTE: More than once I’ve had a check-in agent look at the box and try to tag it as oversized just based on the visual size and rigidity. I kindly asked them to measure the box and, sure enough, I was able to check it as a normal baggage without oversize fees.
- Dedicated palette box. I found and purchased a fantastic, metal case for my palettes. Using this dedicated box means I don’t have to worry about the transfer of paint from my palette to any other items. Because the box is metal, I don’t have to worry about my palettes being smashed during transport and paint squeezing out. Sure, paint gets on the inside lid of the palette during time and use, but it only further ensures the paint is contained.
SIDE NOTE: I checked and it looks like Guerrilla might not be making the Plein Air Porter that I have. However, I did a quick Google search and found at least two art supply stores that still have the box in their stock. So, if you’re looking for one, these links might help: Here’s One & Here’s Another
Pass Inspection by TSA & Airline Check-in Measures
- MSDS. If the TSA agent flags my materials as dangerous for flight, I could arrive at my show without my tools. So, I always take the extra step to print the MSDS (Material Safety Data Sheet) for my oil colors (artist pigments, not “paint”). Here is the sheet for my Williamsburg Oil Colors. I definitely suggest you find similar sheets for your tools, read through them and ensure your materials are safe for flight. Mine are!
- Measurements. My plein air porter for wet canvases is lightweight and fits within the standard dimensions for checked luggage for most airlines. If you have a different one, be sure to measure it so that you don’t get held up during check-in for being oversized or overweight.
- Help them out. I drew arrows on the internal foam box of my plein air porter. That way, when the TSA agents unzip the outer cloth bag, they will know to stand the box upright instead of opening it on its side, which could result in the paintings falling out. I also wrote the words “WET PAINTINGS” on the box so that the agents were prepared and didn’t reach in and grab a wet painting (true story).
SIDE NOTE: Be prepared for the fact that your plein air porter will most likely be checked by TSA. I think, based on their feedback when I’ve interacted with the agents, this is because the size of the box doesn’t fit the weight of the box. They expect something that large to be heavy. When they lift the box and find it feels empty (by comparison to 40-pound luggage), they certainly will decide to check the contents. It’s really not a big deal for them to check it, you’re not hiding anything. But you definitely want to ensure the contents don’t shift and your paintings aren’t damaged.
Be Prepared to Make it Work Anywhere
- DIY table. At most shows, the gallery provides an easel for me (especially considering flying with a good, sturdy easel is not practical). However, they don’t always have a table or other surface where I can put my tools (palette, oil colors, brushes, paper towels, etc.). So, I’ve found ways to get creative with my supplies. If I brought my plein air porter, I can use that for height and top it with the metal box I use to transport my palette paper. That creates a nice surface and a DIY table.
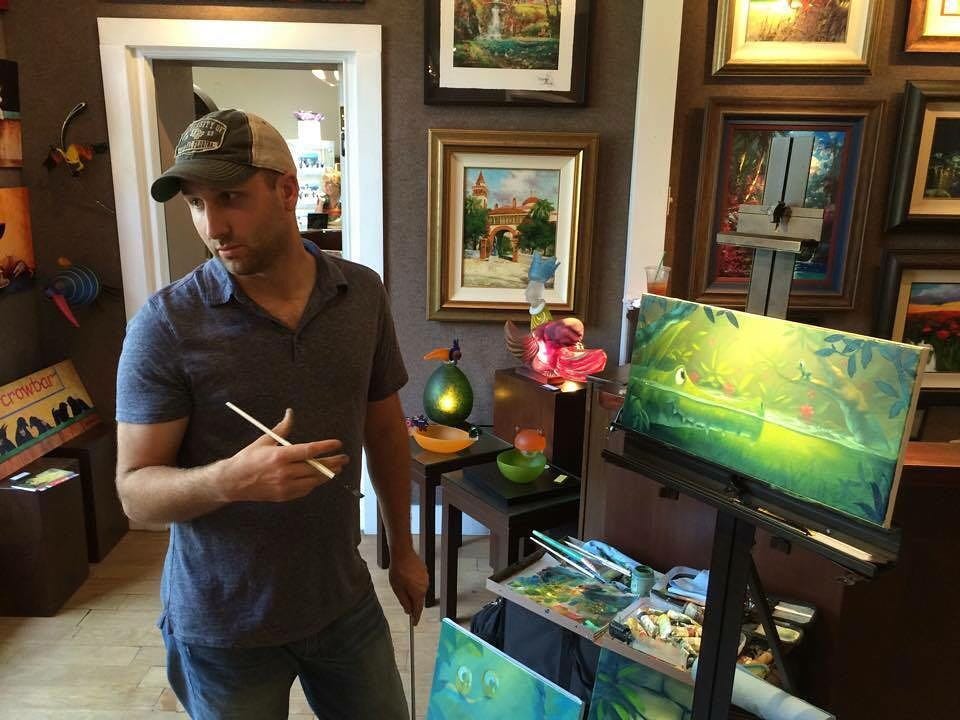
- BOYL (bring your own lights). If you’re painting in a gallery, you’ll probably have great lighting. However, sometimes you might be asked to paint in a nontypical location for a show. For example, I’ve painted in a building at Epcot where the lighting was designed for atmosphere and not for a working artist. So, I brought my own extension cord and clip-on LED light that I could attach to my easel. Another time at Epcot, I was painting outside for the Epcot International Festival of the Arts and, once the sun went down, I was left with no light. For that, I brought a battery-operated, rechargeable spotlight that lit not only my easel but also my surfaces so I could see my palette.
 Clip-on LED lights can be a lifesaver when you’re painting in nontypical locations where you don’t have the best lighting situation. Location: Epcot
Final Tip
I hope some of these tips help others who are planning to travel with art supplies. My only other tip: Pick a favorite airline and start earning/collecting miles so you can get those coveted exit seats, free checked luggage or the occasional class bump!
2 comments
Wow, this article will surely help my wife’s niece a lot considering she has an art project to execute next week. Shoutout to you for highlighting how convenient paper towels are in keeping our brushes clean. Maybe she can visit a supplier to make the right purchase. https://jacksons.com.au
You are amazing and I so love you work, Ellen